Coffee Bloom Explained: How to Bloom Pour-Over Coffee
Coffee bloom is the short pause after you first wet freshly ground coffee. Trapped gas escapes, the coffee bed expands or bubbles, and the grounds begin absorbing water. For pour-over brewing, a controlled bloom can help wet the bed evenly before the main pour. You do not need dramatic bubbles or an exact foam height to make a good cup.
Why does coffee bloom?
Roasting generates gases, including carbon dioxide, which gradually escape as coffee rests. Grinding exposes more surface area and accelerates that release. When hot water first reaches the grounds, some remaining gas becomes visible as bubbles and a raised surface. CHEMEX describes the bloom as the escape of gas trapped during roasting before the main brewing phase. See the official CHEMEX brewing FAQ.
Freshness, roast level, grind and degassing time all affect the appearance of a bloom. A lively bloom does not prove quality, and a quiet bloom does not automatically mean coffee is stale. Coffee stored for weeks may release less visible gas yet still be enjoyable.
A useful pour-over bloom recipe
This is a starting recipe for a single cup, not a fixed rule for every dripper or coffee. Measure by weight rather than judging the foam.
- Coffee: 20 g freshly ground coffee, starting at a medium grind.
- Total brew water: 320 g, for a 1:16 coffee-to-water ratio.
- Water temperature: Approximately 92–96°C (198–205°F) as a common hot-brew starting range, adjusted for your roast and equipment.
- Bloom water: About 40–60 g, enough to wet all the grounds.
- Bloom pause: About 30–45 seconds before continuing.
- Equipment: A pour-over dripper, compatible filter, kettle, stable mug or server, and ideally a scale and timer.
Our coffee-to-water ratio guide explains how to scale these amounts; the brewing temperature guide provides context for water temperature rather than a single mandatory number.
How to bloom pour-over coffee
- Prepare the filter and dripper. Follow the filter maker’s instructions. If you rinse a paper filter, discard the rinse water before adding grounds.
- Weigh and level the grounds. Place the brewer on a scale, add 20 g coffee and gently settle the bed without compressing it.
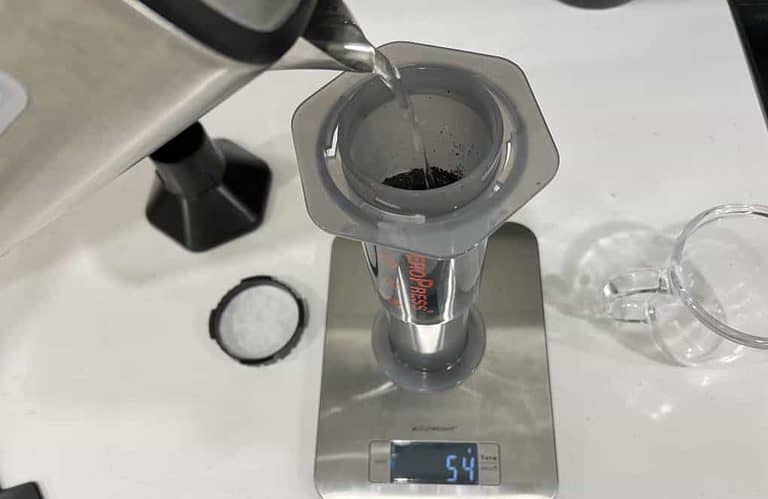
- Start the timer and add bloom water. Pour 40–60 g hot water slowly across the bed, beginning near the middle and moving outward. Try to wet the coffee rather than pour directly down the filter wall.
- Wait 30–45 seconds. Observe whether dry patches remain. If needed, a very gentle swirl can help distribute water, but excessive agitation is unnecessary.
- Continue the main pours. Add the remaining water in steady pulses until your scale reads 320 g total. Keep the water level manageable for your dripper and allow the brew to drain.
- Taste and adjust. If the drink is thin and sharply under-extracted, try a slightly finer grind or a little longer contact time. If muddy or harsh, test a coarser grind or less agitation.
CHEMEX’s own brewing instructions recommend wetting the grounds first and pausing around 30 seconds before the main pour. Drippers and recipes differ, so treat this as a foundation, not a guarantee of a specific flavor profile. See CHEMEX’s step-by-step guidance.
How much bloom water should you use?
Many home recipes begin around two to three times the dry coffee mass in bloom water. In this example, 20 g coffee receives 40–60 g water. The objective is to saturate the coffee bed without flooding it. A very deep bed, unusually fine grind or highly absorbent roast may need a small adjustment.
Count the bloom water as part of the total 320 g; do not add it on top. If you make a smaller 15 g recipe at 1:16, the total target is approximately 240 g, with about 30–45 g used for the first wetting.
Common bloom problems and what to change
No bubbles or hardly any rise
This can be normal. A coffee that has rested longer may show less visible gas. Check taste and overall freshness before assuming something went wrong. Make sure all grounds were actually wetted.
A dry island in the middle
Pour a little more carefully so water reaches the whole bed. A brief, gentle swirl may help; do not stir aggressively if your filter or dripper is prone to stalling.
Water drains before the pause ends
That is common with some drippers, especially when the first pour is small. The bloom does not need to hold a puddle for the entire pause. Continue the brew after your chosen interval.
The final coffee tastes weak
Do not blame the bloom alone. Dose, total water, bean condition and grind have a larger combined effect. Compare your settings with our grind-size guide and pour-over brewing overview.
Do other brewing methods need a bloom?
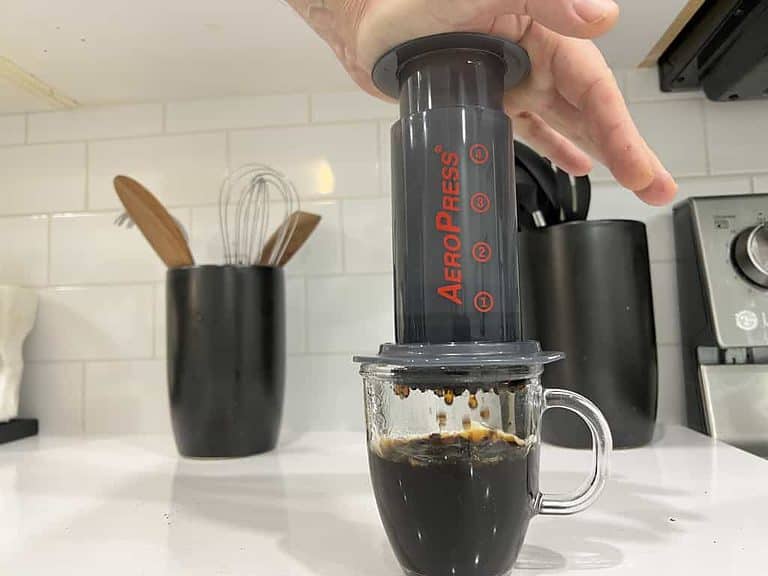
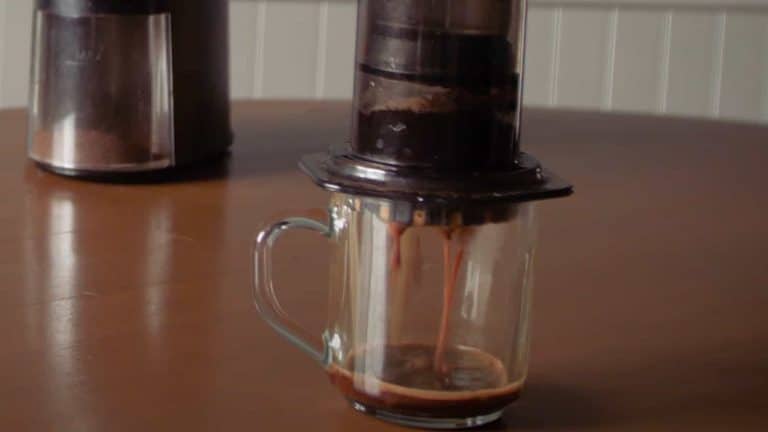
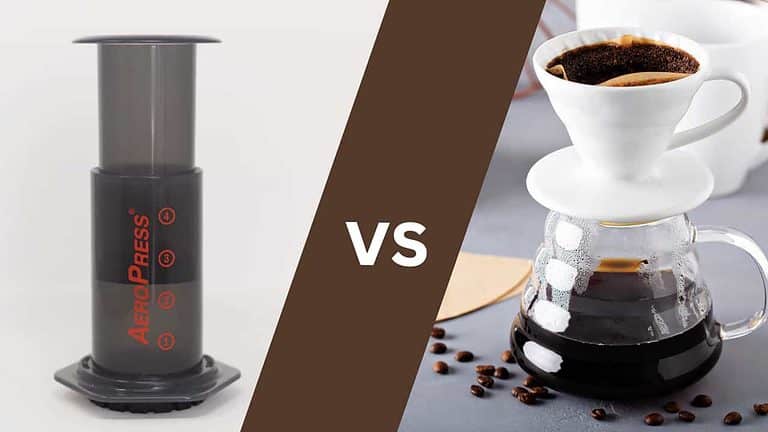
Blooming is most visible and commonly structured as a separate phase in pour-over brewing. Immersion brewers such as French presses and AeroPress also wet coffee and allow gas to escape, but their recipes do not necessarily require a distinct 30-second pause. Automatic drip machines vary by model; some offer a pre-infusion mode designed to wet grounds before the rest of the cycle.
Bottom line
Start with enough water to wet all the grounds, a 30–45 second pause and a consistent total brew ratio. Then taste, change one variable at a time, and keep notes. A useful bloom is about even wetting and repeatable brewing, not chasing the biggest puff of foam.
Sources: CHEMEX FAQ and CHEMEX brewing instructions. Ratios and intervals beyond the maker’s example are practical starting points, not universal standards.