How to Froth Milk Without an Espresso Machine
You can make foamy milk at home without an espresso machine. A small handheld frother, a clean French press, or an electric milk frother can add air to milk or an appropriate plant-based drink. For a café-style hot drink, froth first and warm the milk carefully in a separate vessel unless your appliance is specifically designed to heat and froth at the same time.
Choose the foam texture you want
A cappuccino-style topping is usually foamier, while a latte-style drink uses more liquid milk and a finer layer of foam. Home frothing tools often make larger bubbles than an espresso machine’s steam wand, so the texture will not be identical. Our latte versus cappuccino comparison explains the differences between these drink styles.
Method 1: use a handheld milk frother
A battery-operated whisk is a simple option for small amounts of milk. Check that its whisk and shaft are intended for food contact and follow its cleaning instructions.
- Pour roughly 100–150 ml of chilled milk into a tall, open-sided cup or jug, leaving generous space above the liquid.
- Lower the whisk into the milk before switching it on, so it does not splash.
- Move it slowly through the milk for around 20–40 seconds, or until the bubbles look reasonably even. Times vary with the tool and milk.
- Turn the whisk off before lifting it out. Tap or gently swirl the jug to break up larger bubbles.
- For a hot drink, warm the milk separately according to safe food-handling guidance and your utensil instructions. Avoid overheating or pouring while bubbling vigorously.
This method is useful for occasional drinks and cold foam. It is less effective when making large quantities for several people.
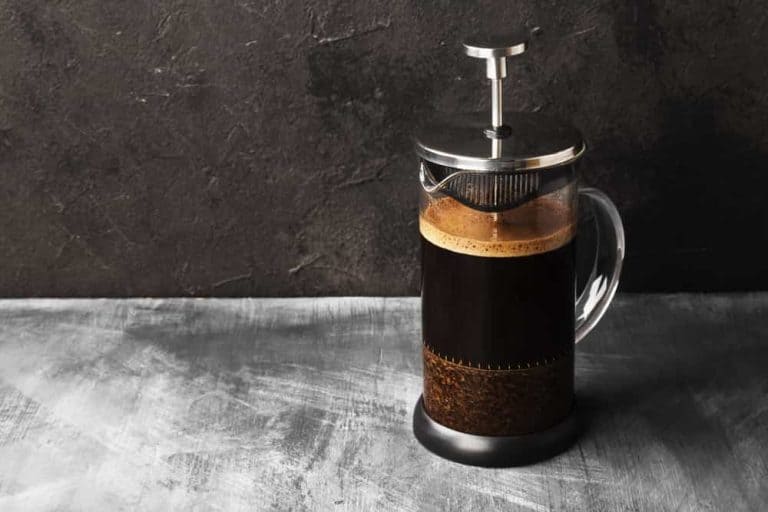
Method 2: use a clean French press
A French press’s screen can aerate milk, provided the brewer has been thoroughly cleaned and its maker permits the use. Start with chilled milk to reduce splash risk, then warm it separately if desired.
- Add enough cold milk to cover the lower part of the filter, but leave substantial space for expansion.
- Seat the lid and move the plunger steadily up and down, keeping the screen below the liquid surface where possible.
- Stop when the milk has visibly increased in volume. Larger bubbles can be reduced by gently swirling the milk.
- Pour the foam into a separate serving jug. Thoroughly wash the French press screen and all milk-contact parts immediately afterward.
Do not vigorously pump hot milk in a narrow or unstable vessel. A French press with a damaged plunger or fragile glass should not be used for frothing.
Method 3: use an electric milk frother
Dedicated frothers are convenient because some offer cold foam, hot milk, and multiple foam textures. Read the exact device manual: fill limits and the correct whisk attachment vary. For example, the Nespresso Aeroccino 4 instructions distinguish the maximum fill for froth from the higher limit for heating milk. Adding extra milk can cause overflow and may interfere with the results.
Use refrigerated milk, keep electrical connectors dry and clean the jug after each use. Don’t add sugar or syrups inside a frother that prohibits additives; stir flavorings into the finished drink instead.
Which milk makes the most foam?
Foam depends in part on milk proteins, fat content, freshness, temperature, and the tool. Skim or reduced-fat dairy milk can produce a more airy, firm foam; higher-fat milk may feel richer and form softer bubbles. Plant-based drinks vary widely. A barista-formulated oat or soy drink may behave differently from ordinary cartons, so check its label and experiment with small amounts.
Nespresso’s Canadian milk-frother guidance explains how freshness, protein and fat affect the foam. Product guidance is useful but does not guarantee identical results across brands or every milk alternative.
Simple home latte-style recipe
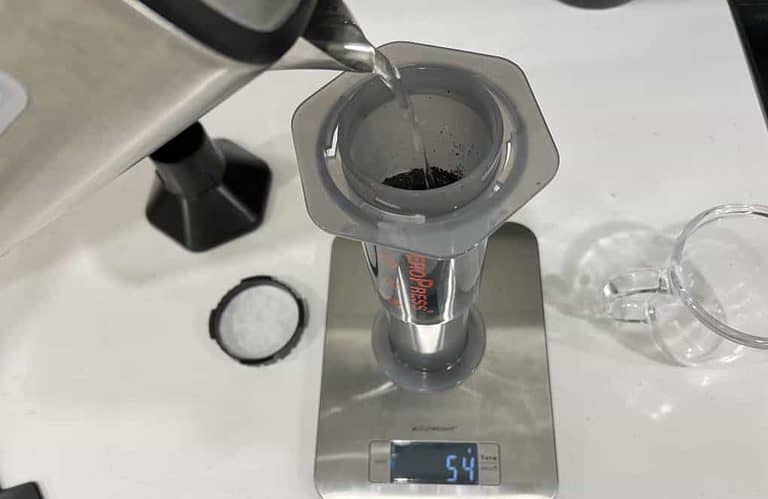
For one mug, prepare about 60–90 ml strong brewed coffee using your preferred method, then add roughly 120–180 ml warmed, frothed milk. This is a flexible home-drink recipe, not a claim that concentrated filter coffee is true espresso. If you use an AeroPress, our AeroPress cappuccino-style guide describes a practical approach; this article explains why AeroPress concentrate differs from espresso-machine extraction.
What if your milk won’t froth?
- Large bubbles that disappear quickly: Try colder, fresher milk, a slightly shorter whisking interval, or a different milk brand.
- Very little volume increase: Check that the tool is fully charged or properly attached and that the whisk is below the liquid line.
- Foam is too stiff for a latte: Froth for a shorter time and incorporate more warm liquid milk.
- Unexpected taste or odor: Thoroughly clean the frother; stale milk residues can affect the next drink.
Cleaning and safe handling
Use pasteurized dairy milk or a suitable packaged alternative and keep it refrigerated until needed. Wash any tool that touches milk promptly. Heat milk only with appropriate kitchen equipment and avoid closed containers when heating; trapped steam can create pressure. If using an electrical frother, keep its base and connector dry and follow its stated temperature and fill limits.
Bottom line
A handheld whisk is inexpensive and simple, a clean French press can froth small batches, and a dedicated electric frother is convenient for consistent daily use. Start with fresh, chilled milk and adjust the duration until the foam suits the drink you want.
References: Nespresso Aeroccino 4 user guidance and Nespresso Canada milk and foam guidance. Follow your own equipment’s instructions.